
Outdoor Living Guide
What Are the First Signs of Wood Rot in New Orleans, LA?
The first signs of wood rot in New Orleans outdoor structures are easy to miss. Damp staining that never dries, unusual brown or bleached patches, and wood that lets a screwdriver sink in under light pressure a
The first signs of wood rot on a New Orleans outdoor structure are easy to miss: damp staining that never dries, unusual brown or bleached patches, and wood that lets a screwdriver sink in under light pressure. Check post bases at grade, joist ends at the ledger, and anywhere two pieces meet and hold moisture, because rot starts where water sits rather than where it lands.
The first signs of wood rot in New Orleans outdoor structures are easy to miss. Damp staining that never dries, unusual brown or bleached patches, and wood that lets a screwdriver sink in under light pressure are the three to know.
At TurnKey Outdoor Designs, we find the decks we are asked to look at rarely fail where the owner expected. The boards underfoot usually look worse than the structure and are usually in better condition.
Knowing where to look is most of the diagnosis. Contact us today to have the structure checked before another wet season.
What Does Early Wood Rot Look Like in New Orleans, LA?
The first signs are damp staining that never dries, abnormal brown or bleached mottling, a water-soaked look, and paint lifting in one small area. Confirm them with a screwdriver that sinks in under light pressure. By the time decay is visible, the wood has already lost much of its strength.
Those signs cluster where moisture sits, because decay fungi need moisture in the wood, oxygen, and a comfortable temperature. In this climate, two of those three are nearly always available, so a joint that never fully dries between rains is the one on a clock.
That is also why the fix is rarely just replacing the rotted piece. Unless the water is redirected, the replacement follows the original.
Where Should You Look First for Wood Rot in New Orleans?
Four locations account for most of the decay we find. Start there rather than walking the surface.

Post Bases at Grade
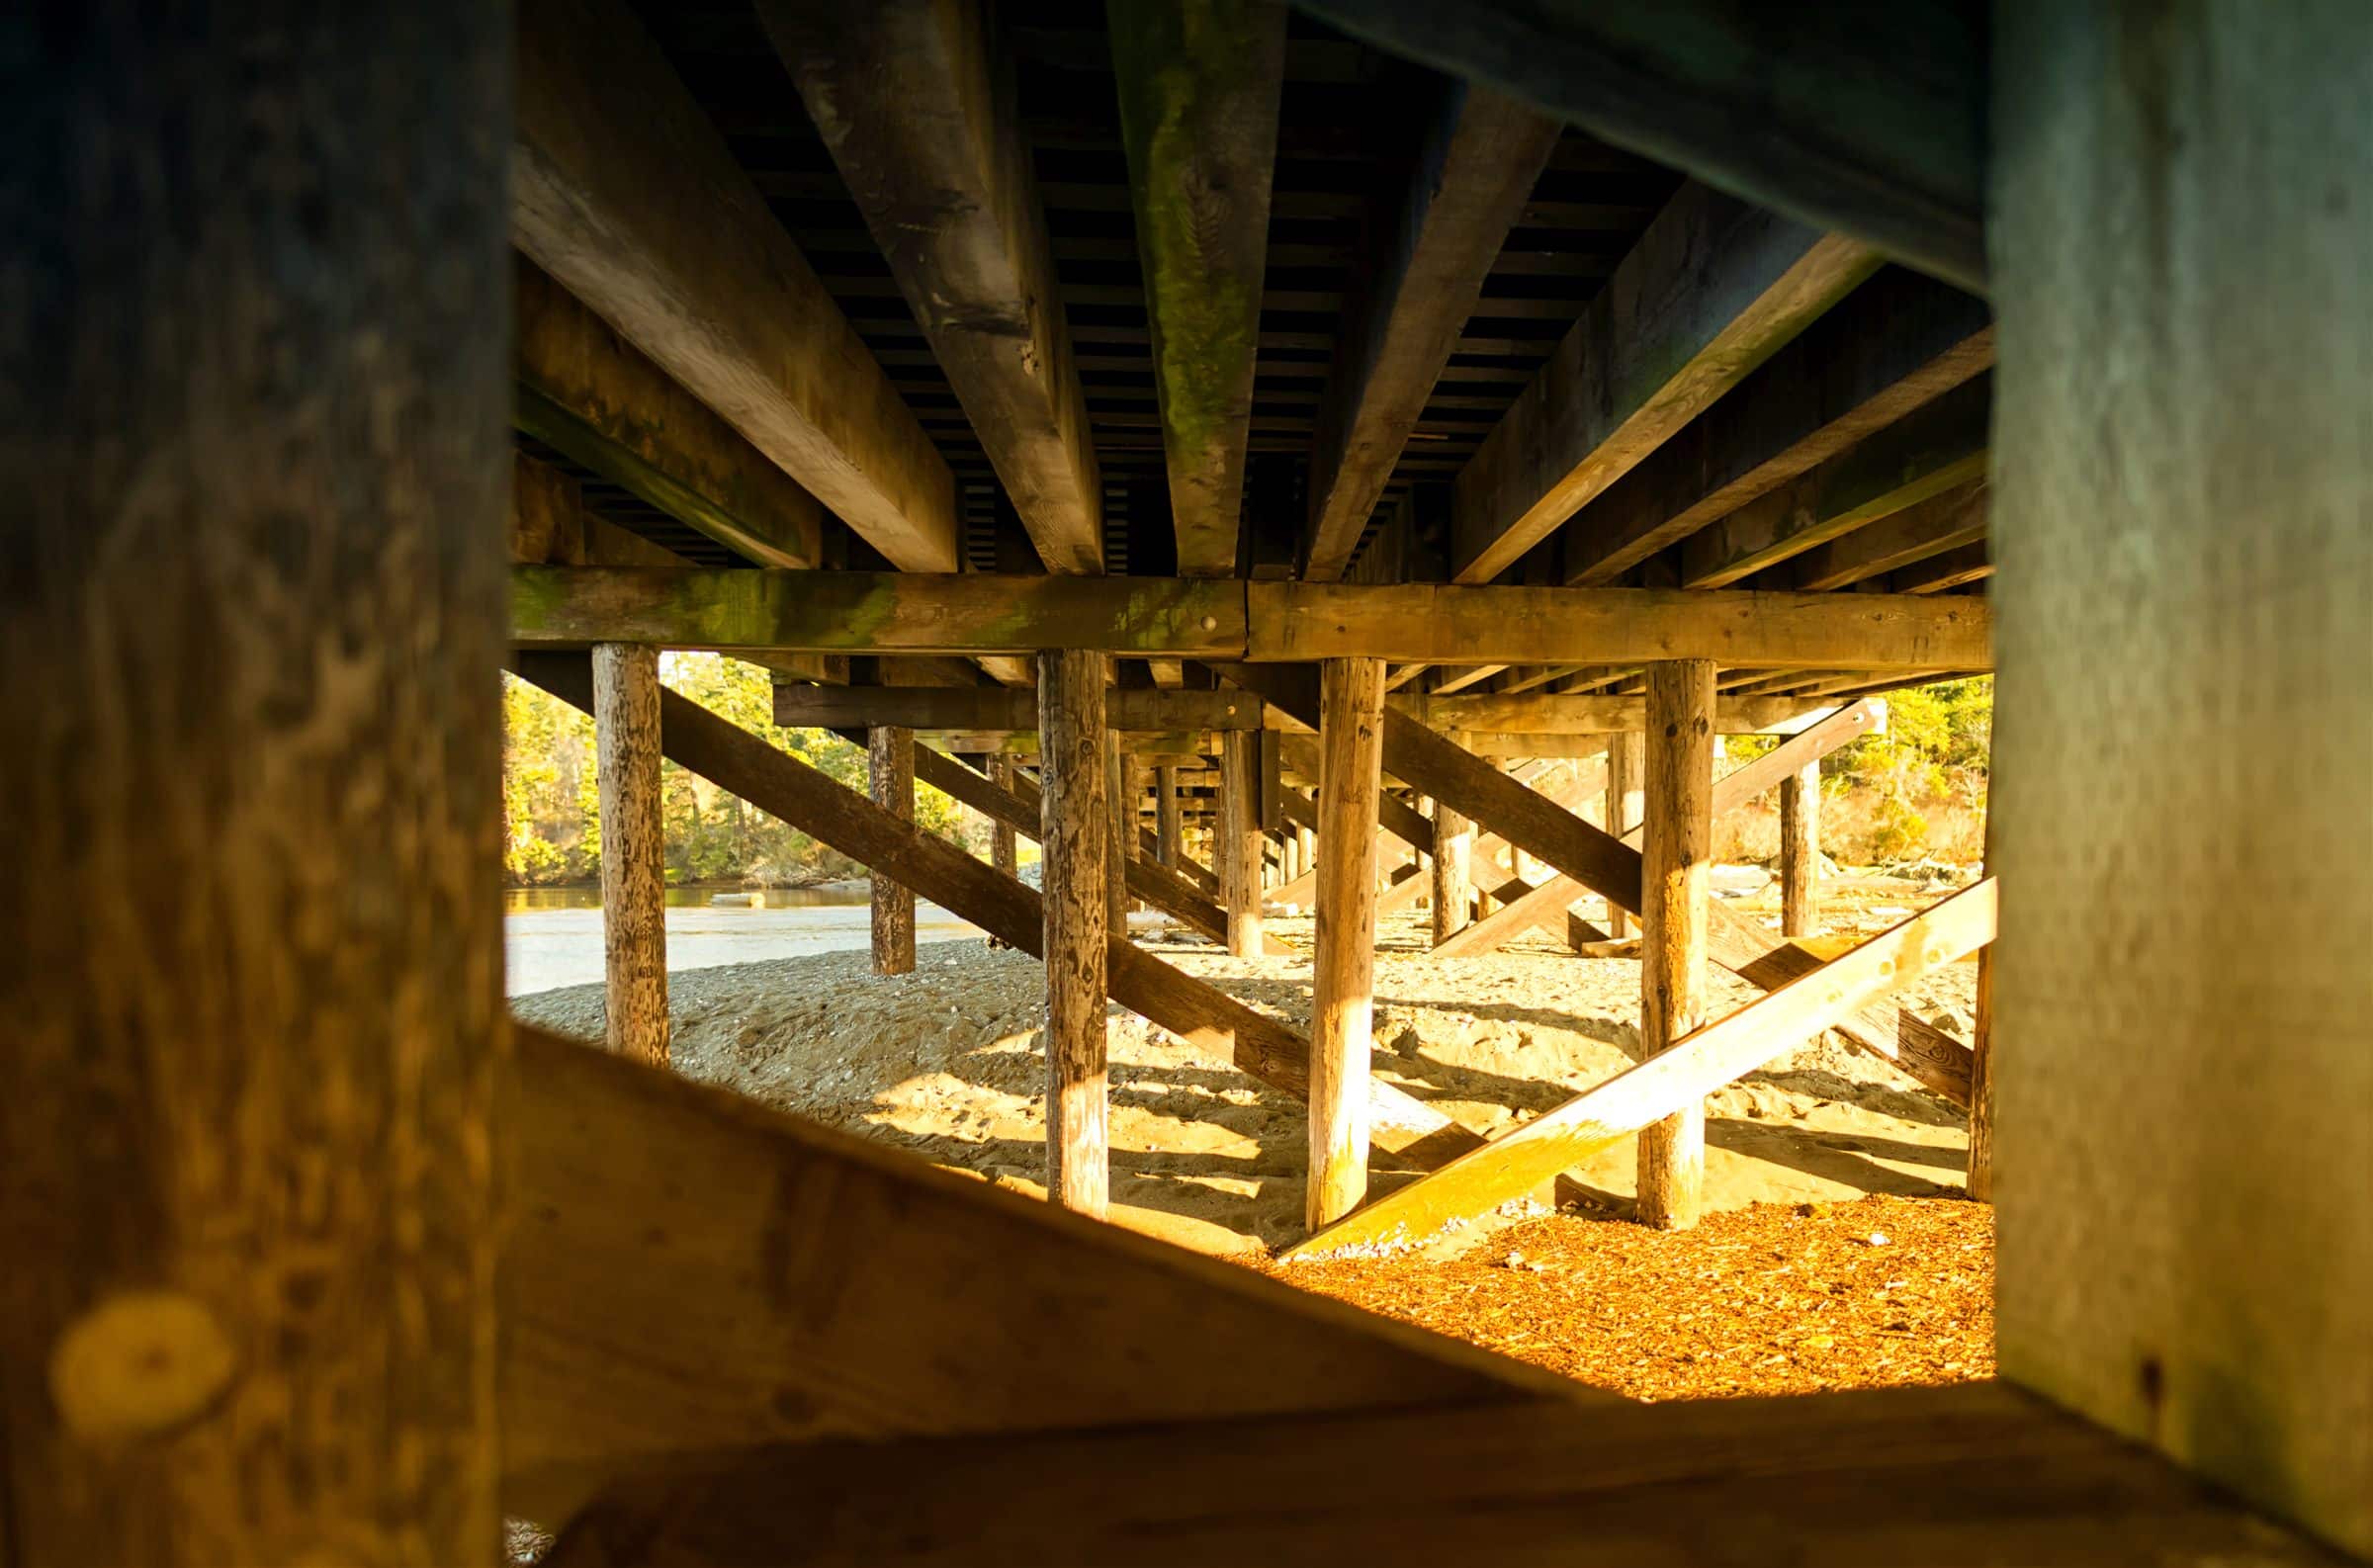
Any post that meets soil, concrete, or a surface that holds water is the highest-risk point on the structure. A post set directly into concrete is effectively standing in a cup.
Probe the post all the way around at and just above the base, because decay is often on the side you cannot see. Soil and mulch built up against a post do the same thing as burying it.
A post that sounds hollow when tapped, or that gives under a probe, is a finding that needs assessment before the structure is used again. The same rule applies to the posts under our pergolas and gazebos, which carry load through exactly the same detail.
Beam and Joist Ends
End grain absorbs water far faster than the face of a board, which makes every cut end a potential entry point. Joist ends at the ledger and beam ends at a post are where that shows. A cut made on site also removes the protected outer zone of treated lumber, which is why field cuts are supposed to be sealed before the piece goes in.
Look for dark staining, a spongy feel, and any gap where a joist meets the ledger.
Check the ledger board itself while you are there. It is the connection between the deck and the house and it is the single most consequential member on the structure.
Stair Stringers and Bottom Steps
The bottom of a stair stringer sits closest to the ground, catches splash, and dries slowest. It is a reliable place to find decay on an otherwise sound deck.
Probe the stringer at the lowest tread and at any point where it contacts a landing or a pad. Check the treads at their ends rather than in the middle.
A stair that flexes or feels soft underfoot at the bottom is worth taking out of use until it has been looked at. Stairs concentrate load on a small number of members, so a stringer that has lost section has far less reserve than one joist in a field of joists.
Anywhere Something Sits on the Deck
Planters, doormats, rugs, and stored items all hold moisture against the boards beneath them, and decay develops there while the surrounding deck looks fine. Move everything before inspecting.
The same applies where a deck meets a wall, a step, or a planter box. Any junction that traps leaves and water is a place to probe. Leaf litter packed into the gap between two boards holds water the way a sponge does, long after the surface has dried.
Our outdoor decks service inspects these junctions rather than only the visible field of the deck, because that is where the evidence usually is.
How Do You Test Suspected Wood Rot in New Orleans, LA?
Use a screwdriver or an awl and push into the wood with light, steady pressure. Sound wood resists and the tool stops; decayed wood lets it sink in. Light pressure is the whole point, because leaning on the tool will drive it into sound wood and hand you a false positive.
The Probe Test
Test at several points around a member rather than at one, because decay is frequently on one face only. Map where it starts and stops so the extent is known rather than guessed.
Probing leaves small holes, which is a reasonable trade for knowing what you have. Seal them afterward on any member you are keeping.
Sound It With a Hammer
Tapping along a post or beam with a hammer produces a solid ring where the wood is sound and a dull, hollow note where it is not. Interior decay behind an intact surface shows this way and shows no other way.
Work along the whole length rather than at the ends, since the difference between the two notes is only obvious in comparison. Use the same hammer and the same swing throughout so the comparison actually means something.
Where the sound changes, mark the spot and go back to it with the probe. The two tests together are far more reliable than either one alone.
Read the Visual Signs
Decayed wood often darkens or, in some cases, bleaches and becomes stringy and spongy. Brown decay tends to crack into cube-like blocks that crumble between the fingers. Those two patterns come from two different groups of decay fungi, and both mean the same thing for the member you are standing on.
Fungal growth on the surface, or anything mushroom-like at a post base, is a definite finding rather than a maybe. So is paint that is cracking and lifting in one localized area while the rest is sound.
Persistent damp staining that never dries is the earliest signal of all. It marks the spot before there is anything to feel.
How Do These Outdoor Living Options Compare in New Orleans?
Straight from the guide above, laid out side by side.
| What You Find | What It Usually Means | What to Do |
|---|---|---|
| Gray, weathered surface, wood sound underneath | Surface weathering, not decay | Cosmetic, address when convenient |
| Probe sinks in with light pressure | Active or past decay in that member | Map the extent, then assess the member |
| Wood crumbles into cube-like pieces | Advanced decay, strength already lost | Treat as structural until proven otherwise |
| Hollow sound when tapped | Interior loss behind a sound surface | Probe further, do not rely on appearance |
| Mud tubes, soil-packed galleries, frass | Insect activity rather than fungal decay | Call a licensed pest control operator |
Is the Rot Cosmetic, Local or Structural on a New Orleans Deck?
Not every soft spot is an emergency, and the distinction is about which member is affected rather than how bad it looks.
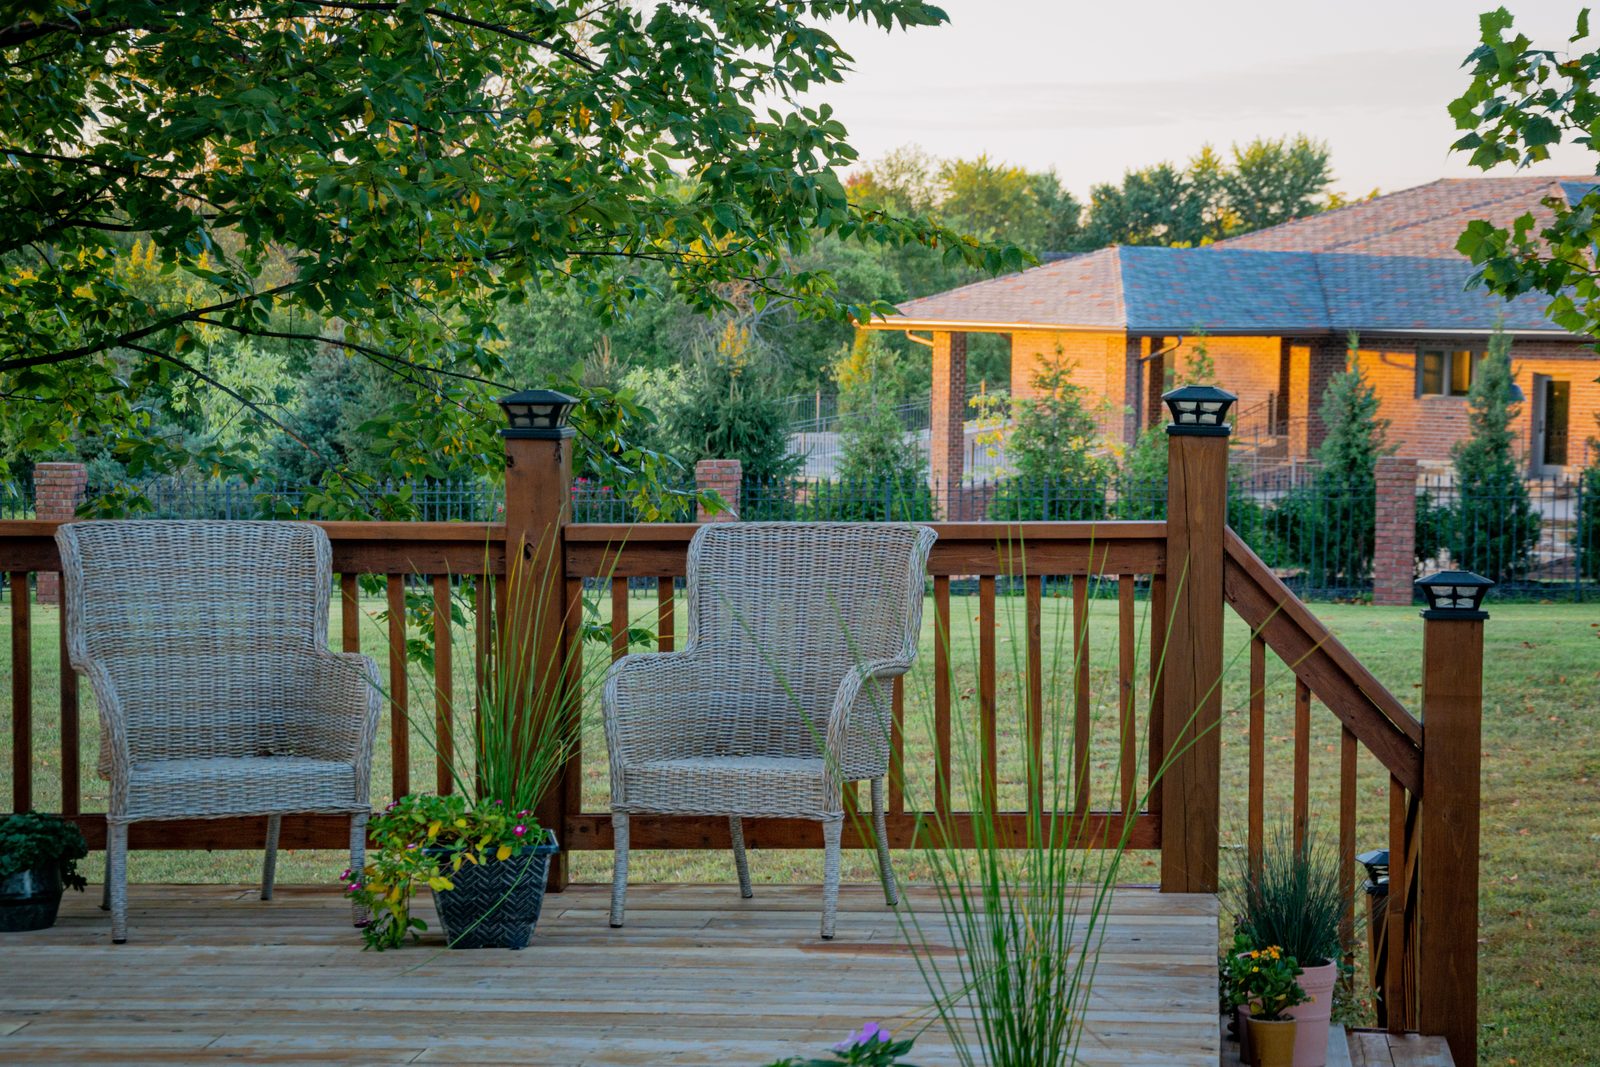
Surface weathering on decking boards, with sound wood underneath, is cosmetic. A localized soft patch in a non-structural element such as a trim board or a rail infill is a straightforward repair.
Decay in a post, a beam, a joist, or the ledger board is structural, and it should be treated that way regardless of how small it appears. Those members carry the deck, and the extent of decay is almost always greater than the part you can see.
If you find something insect-related rather than fungal, that is a different specialty. Mud tubes, soil-packed galleries, and frass point to insect activity, which goes to a licensed pest control operator rather than to a carpenter.
Probe the Wood Before You Trust It
Rot found early is a board and an afternoon, and rot found late is a structure and a season. The difference is only ever how soon somebody looked.
At TurnKey Outdoor Designs, we probe before we price, so you know what is actually there. Call us today to have your deck looked over.
Frequently Asked Questions About This Guide
The ones that come up most often once people start planning.
How can I tell if my deck has wood rot?
Push a screwdriver or awl into the wood with light, steady pressure. Sound wood resists; decayed wood lets the tool sink in. Test post bases, joist ends at the ledger, the ledger itself, and the bottom of the stair stringers rather than the deck surface.
What kills rot in wood?
Drying it out stops it, because decay fungi need wet wood. Wood kept air dry will not decay, and decay already present stops progressing while the wood stays dry, so the real fix is redirecting the water. Softened wood in a post, beam, joist, or ledger has already lost strength and is usually replaced rather than treated.
How long does it take wood to rot away?
There is no fixed timeline, because it depends on moisture, temperature, the species, and whether the wood is treated. With enough moisture at moderate temperatures, decay can progress rapidly, and New Orleans supplies both for much of the year. Wood kept dry does not decay at all, which is why drainage matters more than age.
Is a soft spot on my deck dangerous?
It depends which member it is in. Weathering on decking boards with sound wood underneath is cosmetic, while decay in a post, beam, joist, or ledger board is structural and should be treated that way regardless of how small the affected area looks.
Can rotted wood be repaired instead of replaced?
Sometimes, where the decay is shallow and the member is not structural. Decay in a load-carrying member is usually replaced, because the loss of strength extends further than the visible damage. Either way, the moisture source has to be addressed or it returns.
How is termite damage different from rot?
Termite activity leaves mud tubes, galleries packed with soil, and frass, while fungal decay leaves spongy, crumbling, or cube-cracked wood with no tunneling pattern. This region has a well-documented termite problem, so anything insect-related goes to a licensed pest control operator.
Why does my post keep rotting at the base?
Almost always because water is held against it rather than shed. A post set directly into concrete is standing in a cup, and soil or mulch built up against a post does the same thing. Replacing the post without changing that returns you to the same place.
Does pressure-treated wood rot?
It resists decay considerably longer than untreated wood, but pressure-treated wood is not immune, particularly where cut ends were never sealed after being cut on site. Those unsealed ends are a common starting point for decay in otherwise treated structures.
Keep Reading
What Should You Read Next in New Orleans?
Three more guides on the same ground, chosen because they answer the question this one usually raises.


Next Step
Turn This Guide Into a Plan for Your Own Yard
A short call, then a free site visit and a written figure built from what is actually in your yard. Nothing is owed afterwards.
Monday to Friday, 8:00 AM to 3:00 PM